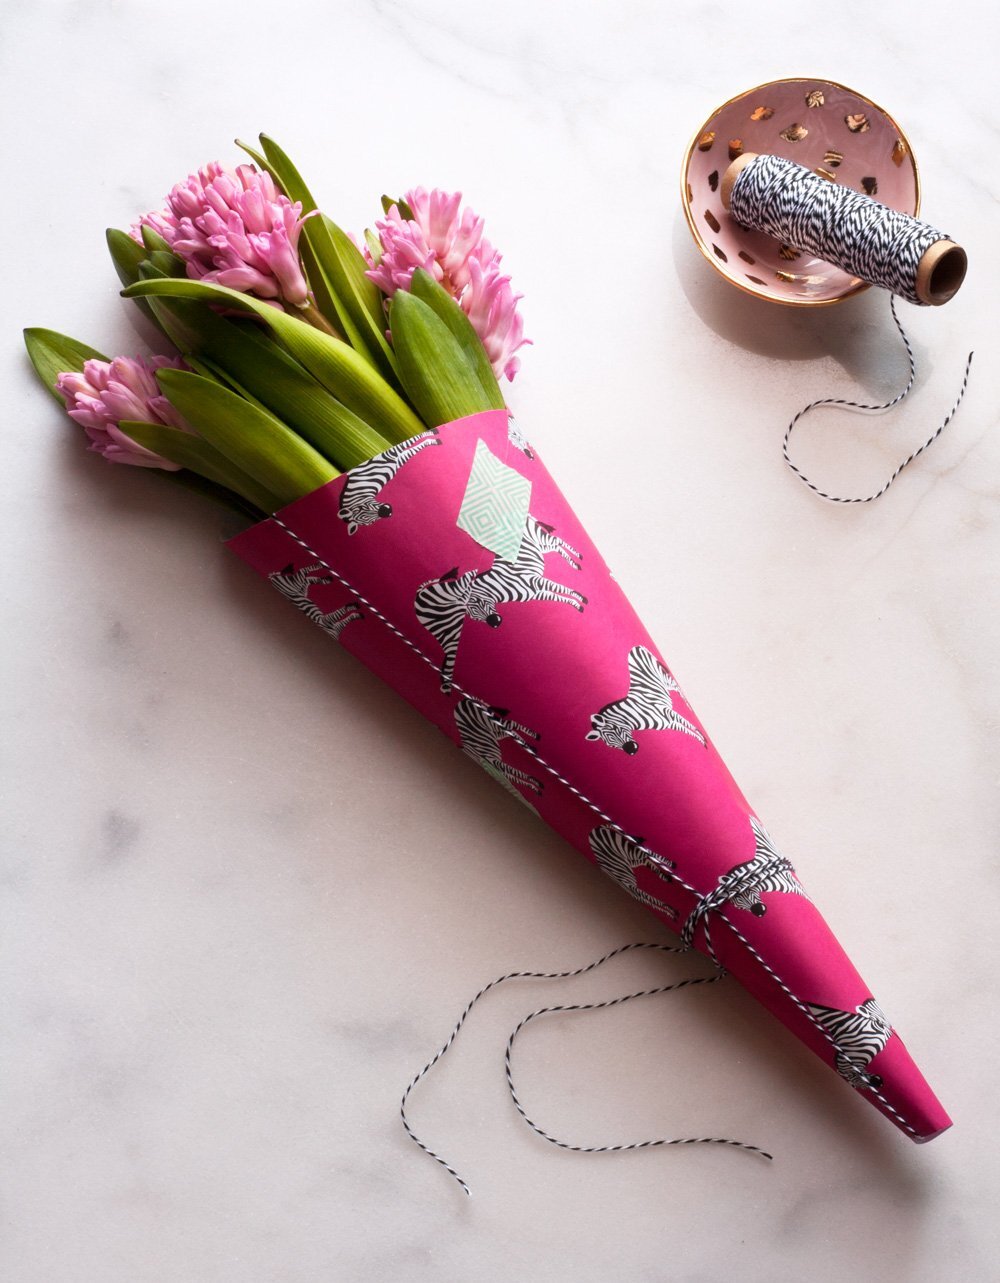
DIY: Valentine's Day Paper Flower Cone
I'm a fresh flower junkie, especially in the winter when everything is cold and gray. I pick up cheap bouquets from the grocery store a few times a month all winter long to add a pop of color and life to the rooms in my home. It's a simple and affordable practice, not to mention convenient because I'm already at the grocery store buying groceries, but it can really make a huge difference to how lively a room can feel, even in the dead of winter. For all these same reasons flowers are one of my favorite gifts to give, and Valentine's Day offers the perfect excuse to spoil yourself and your favorite people.
One thing I don't love about a cheap bouquet is that tacky plastic flower bag. You know the one. Here you have these gorgeous blooms and they're being swallowed up by cellophane. I have just the trick to upgrade your bouquet with minimal effort or expense, and it's the paper cone. Best of all you can customize the paper making the flowers more personal and special for your recipient! Add some exposed decorative tape and finish it off with baker's twine for an effortless I-just-threw-this-together look that'll impress.
Materials:
Flowers
12" by 12" Decorative Paper
Printed Masking or Washi Tape
Baker's Twine
Scissors
Directions:
Cut the plastic flower bag so that only 4-5" of bag remains. This will keep your paper cone dry, and you can even add a damp paper towel to the bottom of the bag to keep the flowers fresh longer, and it'll all remain out of view.
Grab one corner of your 12" by 12" paper and gently lift toward the diagonal opposite corner, this begins to create a cone shape. Use your hands to continue shaping the paper gently until you have a funnel cone shape. Use tape to secure the seams.
Cut a long piece of twine, about 40" and feed one end through the cone until it comes through the other side. With an end now coming out of the top and bottom of the cone, bring the twine ends together and tie a knot.
With the leftover twine ends, wrap around the cone, overlapping and twisting the ends together as you'd like, and then tie one final knot to hold it together.
Enjoy!
Love that sweet little pink bowl with the gold confetti decoration? Happy Valentine's Day! Shop Confetti Bowls here.


